Homeowner’s Guide to Installing a Tesla Wall Connector
Thinking about a Tesla Wall Connector at home? Learn how we plan panel location, circuit size, costs, permits, and Wi‑Fi setup so your install goes smoothly.
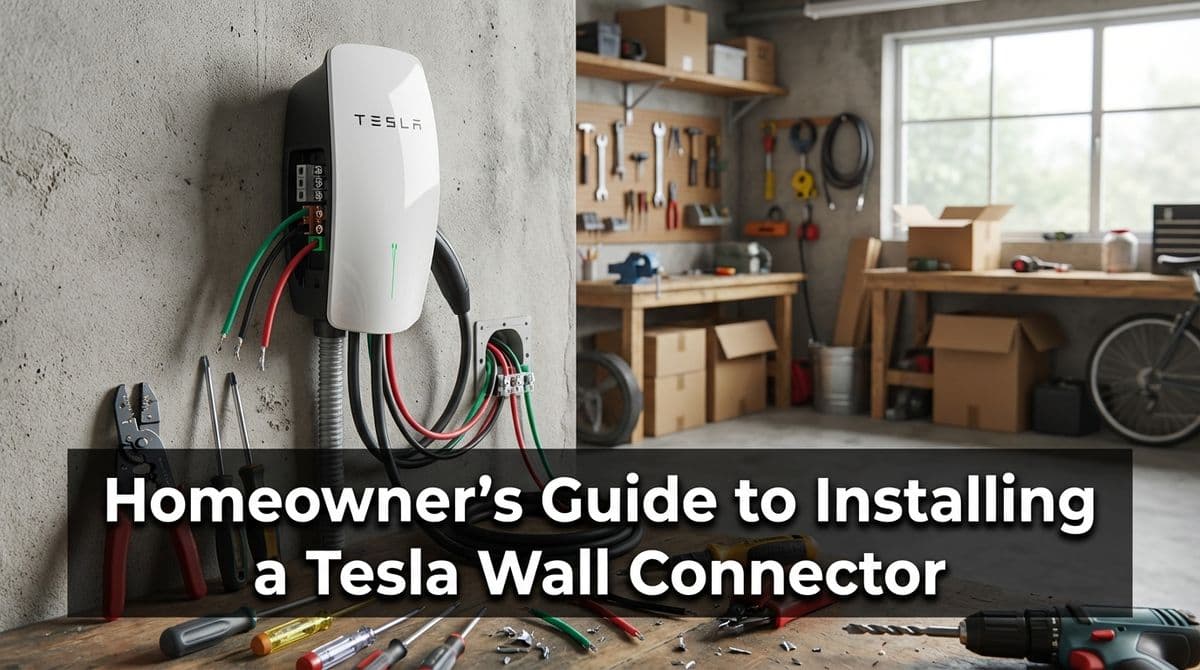
How a Simple Phone Call Turned Into a Tesla Charging Game Plan
We recently got a call from a homeowner — let’s call him Mark — who was getting ready to pick up his new Tesla. He was excited, a little overwhelmed, and wanted to know exactly what it would take to install a Tesla Wall Connector in his garage.
Mark already had solar on his home, and his main electrical panel was on the exterior wall that backed right up to his garage. He told us he wanted the charger on that same wall, just inside the garage, to keep the run short and the installation clean. His goal: a 60‑amp circuit so he could get the fastest charge his vehicle and wall connector could reasonably handle.
We walked him through panel location, circuit sizing, approximate costs, and even the Wi‑Fi setup for the Tesla Wall Connector. In this post, we’ll share that same step‑by‑step guidance so you know what to expect before you schedule your own installation.
Step 1: Choosing the Best Location for Your Tesla Wall Connector
Mark’s instinct was spot‑on: put the charger on the garage side of the same wall where the main panel lives outside. When we arrive at a home, that’s one of the first things we look for — the shortest, safest path from the panel to the charger.
Here’s generally what we look for when helping homeowners choose a spot:
- Distance from the panel: A back‑to‑back or within‑10‑feet run usually means less material, less labor, and a cleaner install.
- Parking habits: We ask where you typically park and which side the charge port is on so the cord reaches comfortably.
- Wall structure: We prefer an area where we can mount the unit to a stud for a solid installation.
- Future flexibility: We think ahead in case you add a second EV or rearrange your garage.
In Mark’s case, the charger could go just a few feet from the panel, mounted on an interior garage wall stud. That “nice short circuit,” as he called it, kept the project simple and cost‑effective.
Step 2: Checking Your Panel for Capacity
Before we talk about breaker sizes and cable types, we have to make sure the electrical system can handle the additional load. With Mark, we walked through this on the call and confirmed we’d verify everything in person.
Here’s what we typically check — and what you can look at before we arrive:
- Main breaker size: We note the amperage of the main breaker (often 100A, 150A, or 200A). This sets the overall capacity of the panel.
- Available breaker spaces: We look for open slots or the possibility of using tandem breakers if allowed.
- Existing big loads: Things like electric ranges, dryers, HVAC systems, pool equipment, or spas all factor into the overall load calculation.
- General condition: Corrosion, heat damage, or very old equipment can be red flags that we need upgrades before adding a high‑demand circuit.
As a homeowner, a quick self‑check is simple: open the panel door, see if there are any open spaces, and note the size of the main breaker. You don’t need to remove any covers — leave that to us. If the panel is packed full or the equipment looks dated or discolored, it’s a good sign to have us evaluate it before you commit to a 60‑amp EV circuit.
Step 3: Choosing the Right Circuit Size (40A vs 50A vs 60A)
Mark told us right away he was aiming for a 60‑amp circuit. He’d done his homework and knew that would get him around 42–44 miles of range per hour of charging with a Tesla Wall Connector, assuming his vehicle can use that full rate.
Here’s how we usually break down EV charger circuit options:
- 40‑amp circuit: Lower material/labor cost, slower charge rate. Often fine for lighter daily driving or when panel capacity is limited.
- 50‑amp circuit: A good middle ground for many homeowners, balancing cost and performance.
- 60‑amp circuit: Faster charging and great for heavier commuting, larger batteries, or when you simply want to future‑proof.
Once we confirm the panel can handle it, we usually recommend going as large as is reasonable within your budget and existing electrical capacity. Like Mark said on the phone, “If we’ve got the room, we’d rather do it that way.” We agree — as long as it’s safe and code‑compliant.
Step 4: How We Wire and Mount a Tesla Wall Connector
For Mark’s setup, we explained the plan like this: we’d install a dedicated 60‑amp breaker in the main panel and run a short length of 6‑gauge MC cable from the panel into the garage, directly to the Wall Connector.
Here’s our typical approach on a straightforward, high‑amp Tesla Wall Connector install:
- Dedicated breaker: We install the correctly sized 2‑pole breaker (e.g., 60A) just for the charger.
- Appropriately rated cable: In many cases we use 6‑gauge MC cable, which is rated to handle the load safely when properly installed.
- Hard‑wired connection: We wire directly into the Wall Connector rather than using a plug and receptacle. This avoids extra connection points and is what Tesla expects for higher‑amp setups.
- Secure mounting: We mount the charger to a stud or blocking so it’s solid and doesn’t move when you wrap or unhook the cable.
From a safety and code standpoint, this matters. A Tesla Wall Connector is a continuous, high‑current load, and loose connections, undersized conductors, or improvised mounting can create real fire hazards. That’s why we size and secure everything carefully and follow current codes and manufacturer instructions.
Step 5: What Does a Tesla Wall Connector Install Cost?
On the call, we let Mark know that a simple, short‑run, 60‑amp hard‑wired install like his would typically start around $600 fully installed in our area. That included the breaker, cable, labor, and proper mounting — assuming the panel has capacity and is close to the install location.
To put costs in context, here are a couple of common scenarios we see:
Example 1: Simple Install (Like Mark’s)
- Panel on exterior wall, garage on the other side
- Run is under ~10 feet
- Panel has space and capacity, in good condition
- No drywall patches or trenching required
In this case, you’re usually looking at the lower end of the price range for a high‑amp wall connector install.
Example 2: More Complex Install
- Panel on the opposite side of the house from the garage
- Longer cable run through attic, crawl space, or exterior conduit
- Panel is full, needs upgrades or a subpanel
- Drywall cutting and patching required
Here, costs go up because of added materials, labor time, and potentially panel work. That’s why we always like to do a quick walkthrough and give a clear, written estimate before starting.
Step 6: Wi‑Fi Setup and App Features
We told Mark that once the physical installation was complete, we’d stay and help with the Wi‑Fi setup on the Wall Connector. For many homeowners, this is where the process feels a little technical, but it’s actually pretty straightforward once you know the steps.
Here’s what we typically do with you on site:
- Power up the Wall Connector and connect to its temporary Wi‑Fi network using a phone.
- Open the setup page in a browser or app and choose your home Wi‑Fi network.
- Enter your Wi‑Fi password and complete any remaining configuration questions (like current limits, if applicable).
- Confirm that the Wall Connector shows as online and visible in the Tesla app, if you’re using it.
We always point out that Wi‑Fi is optional for charging — you can plug in and charge without it. But if you connect the charger, you get nice extras like:
- Charging status and history
- Notifications if there’s an error
- Firmware updates for the Wall Connector
We usually stick around after the physical install to make sure everything is connected, you know how to use it, and you’ve seen your car actually start charging before we leave.
Permits, Inspections, and Why Hiring a Pro Matters
Another piece we explain to homeowners like Mark is permitting and inspections. In many areas, adding a high‑amp EV circuit requires an electrical permit and a final inspection by the local authority. We take care of that process so you’re not dealing with the paperwork yourself.
Here’s why this matters:
- Safety: A second set of eyes (the inspector) confirms the work meets current safety standards.
- Insurance and resale: Properly permitted work tends to avoid headaches with insurance claims and home inspections when you sell.
- Code compliance: EV charging rules are evolving; we stay current so your installation doesn’t become a problem later.
Between correct wire sizing, breaker selection, grounding, GFCI requirements where applicable, and physical protection of the wiring, there are a lot of details that go into a “simple” charger install. That’s exactly why bringing in a licensed electrician is worth it — you get speed, safety, and peace of mind.
Thinking About a Tesla Wall Connector at Your Home?
Mark’s project was a textbook example of how smooth a Tesla Wall Connector installation can be when the panel location, circuit size, and Wi‑Fi setup are planned out ahead of time. By keeping the run short, sizing the circuit properly, and making sure the panel could handle the load, we were able to give him the fast charging he wanted without surprises.
If you’re considering a Tesla or any other EV and want a home charger installed, we’re happy to walk through your options the same way we did with Mark — from panel capacity and circuit size to costs, permitting, and app setup — so you end up with a charging solution that fits your home and your driving habits.